
move wordpress site to new domain cpanel
To move a WordPress site to a new domain using cPanel, you can follow these general steps:
- Backup your WordPress site: Before making any changes, it’s crucial to create a backup of your entire WordPress site, including the database and files. You can use a plugin like UpdraftPlus or manually backup the files and database via cPanel’s backup tools.
- Set up the new domain: In cPanel, add the new domain to your hosting account. Ensure that the domain is correctly configured and pointed to the correct nameservers.
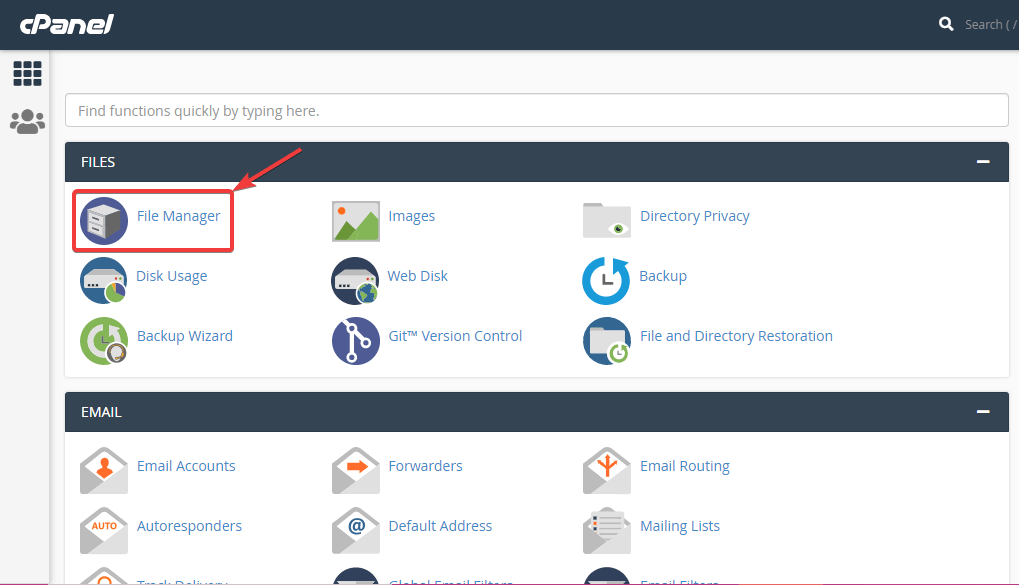
- Copy files to the new domain: Using cPanel’s File Manager or an FTP client, navigate to the root directory of your old domain. Select all the files and folders and copy them. Then, navigate to the root directory of your new domain and paste the copied files.
- Export and import the WordPress database: In cPanel, access phpMyAdmin or a similar tool to export the database of your old domain. Select the appropriate database and choose the “Export” option. Save the exported database file to your computer. Next, create a new database for the new domain and import the previously exported database file into it.
- Update the site URL: To ensure that your WordPress site works correctly with the new domain, you need to update the site URL in the WordPress database. In the new database, access the wp_options table (the table prefix might differ). Look for the “siteurl” and “home” rows, and update their values to the new domain.
- Update file paths (if necessary): If your WordPress site has hardcoded file paths or URLs, you may need to update them to reflect the new domain. This can include custom code in theme files or plugin configurations.
- Update permalinks (optional): If you were using custom permalinks on the old domain, you might need to update them in the WordPress admin panel for the new domain. Go to Settings > Permalinks and click “Save Changes” to regenerate the new permalinks.
- Test and troubleshoot: Visit the new domain in a web browser and test the site thoroughly. Check for broken links, missing images, and any other issues that may have occurred during the transfer. If you encounter any problems, review the steps and make necessary adjustments.
- Update DNS settings: Once you’ve confirmed that the new domain is working correctly, update the DNS settings for the new domain to point to the appropriate nameservers.
It’s important to note that these steps provide a general overview of the process, and there may be variations depending on your specific hosting environment and configurations. If you’re unsure or uncomfortable performing these steps yourself, it’s recommended to consult with your hosting provider or seek assistance from a professional.